

When last we delved into soloing raids past, we paid a visit to Molten Core. If you’ve never tried tackling an older raid on your own before, be sure to check out that guide, as the first half serves as a primer on soloing raid content.
Rather than be predictable and move straight on to Blackwing Lair, we thought it would be more fun to briefly alight on raids from different eras, slay the inhabitants, and move on -- like an especially bloodthirsty butterfly. So let us flutter to Black Temple, storied raid from the Burning Crusade era and stronghold of one of the most recognizable and iconic characters in all of Warcraft lore: Illidan Stormrage. By the time you’ve finished reading this walk through, you will be prepar-
Wait! Stop. You know what? No. We’re not making that joke.
We’re not going to do it.
You’ll be… ready to face Señor Stormrage and his cronies. With that, let us begin!
The Desecrated Temple
Long ago on Draenor, the Temple of Karabor was the center of draenei worship. But the devout priests who prayed there are long dead, slaughtered by marauding, demonically corrupted orcs. In the aftermath of the massacre the warlocks of the Shadow Council seized the structure and bestowed upon it a new name: the Black Temple.
When Illidan the Betrayer fled to Draenor (now called Outland), he ousted the Temple's ruler - the pit lord Magtheridon - and claimed his throne as the lord of the blasted world. Despite the bitter retribution of his enemies, Illidan has begun to tighten his grip on Outland from within the profaned sanctum, where he awaits one who would challenge his rule.
Black Temple was introduced in Patch 2.1 of The Burning Crusade expansion, so that means that we’re taking a trip to Outland!(1) After watching Illidan discuss matters of preparation in the expansion trailer, the heroes of Azeroth would finally get to go toe to toe with the man (Night elf? Demon? Demon.) himself.
Let’s Talk Loot
There’s some very cool stuff to swipe from the Black Temple, too much to cover here in detail. Here’s a sample instead:
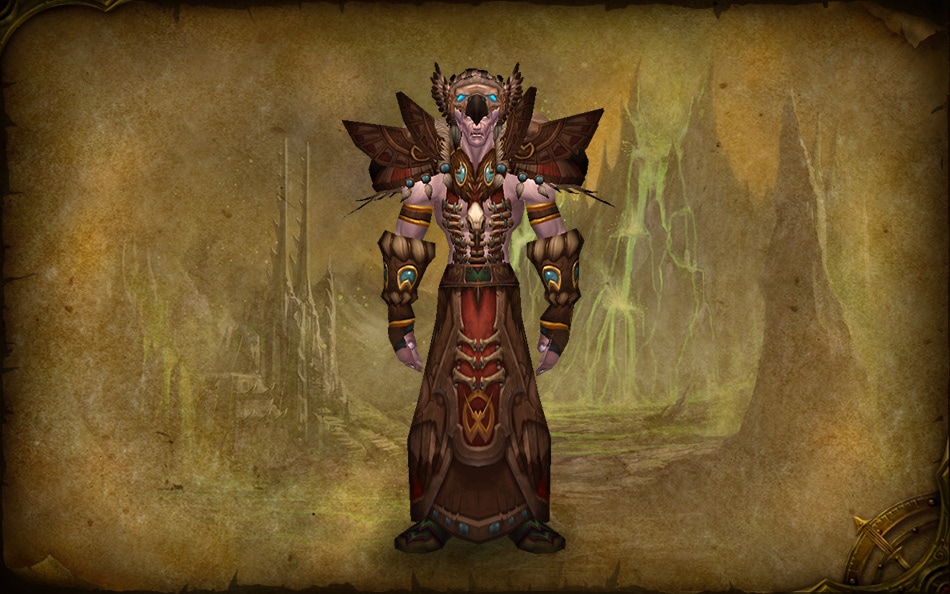
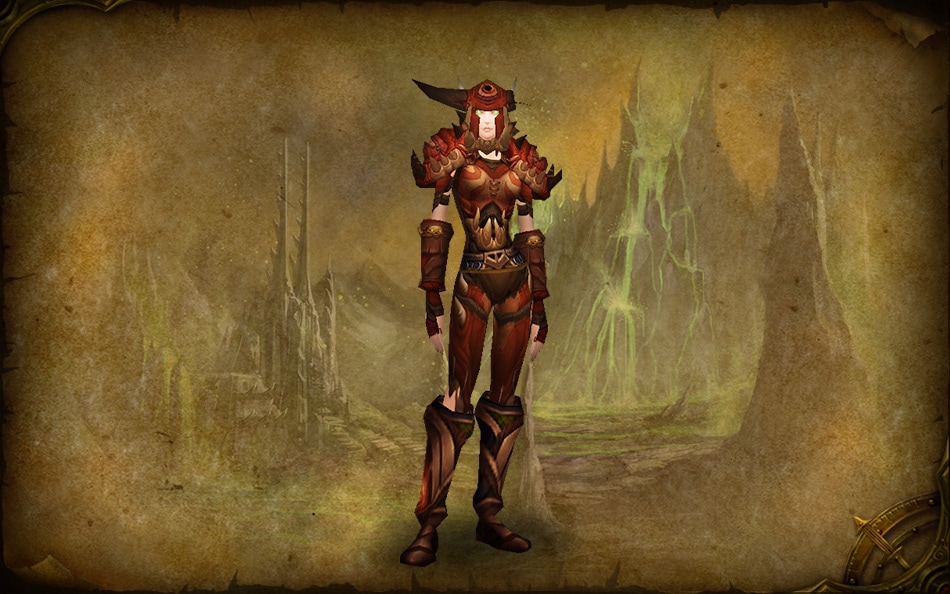
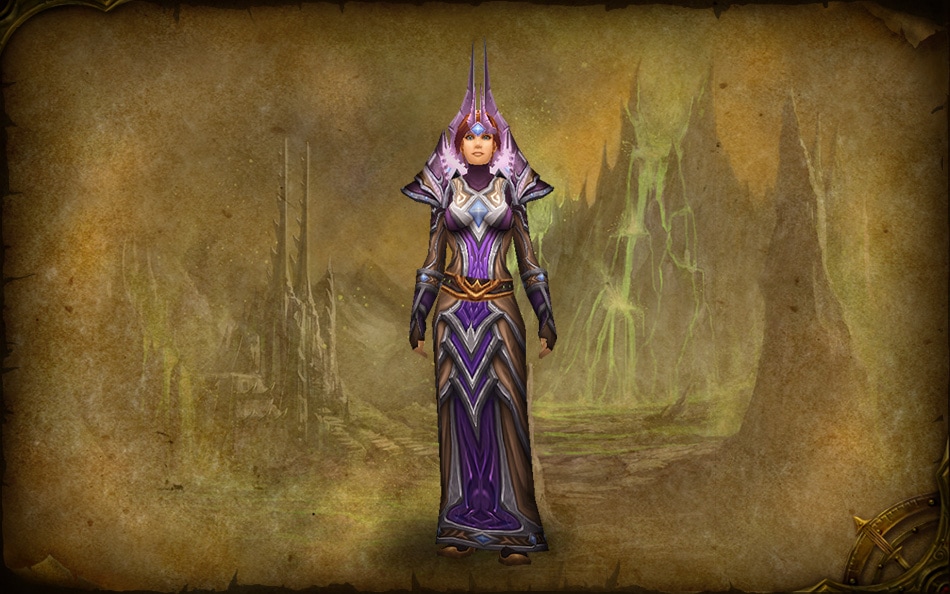
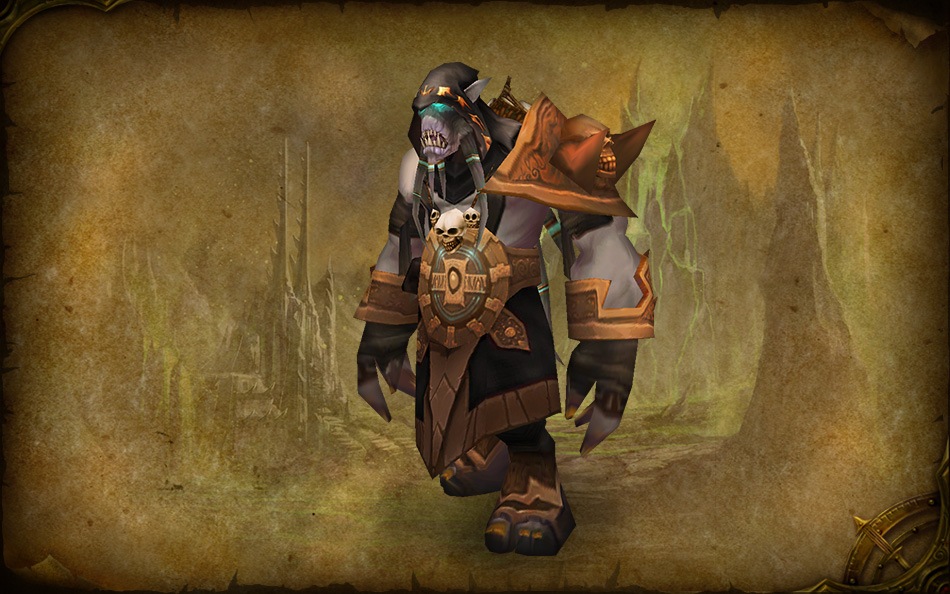
Tier 6 Armor Sets
| 
| |
| Druid - Thunderheart Regalia | Hunter - Gronnstalker's Armor | |
| 
| |
| Mage - Tempest Regalia | Paladin - Lightbringer Armor | |
| 
| |
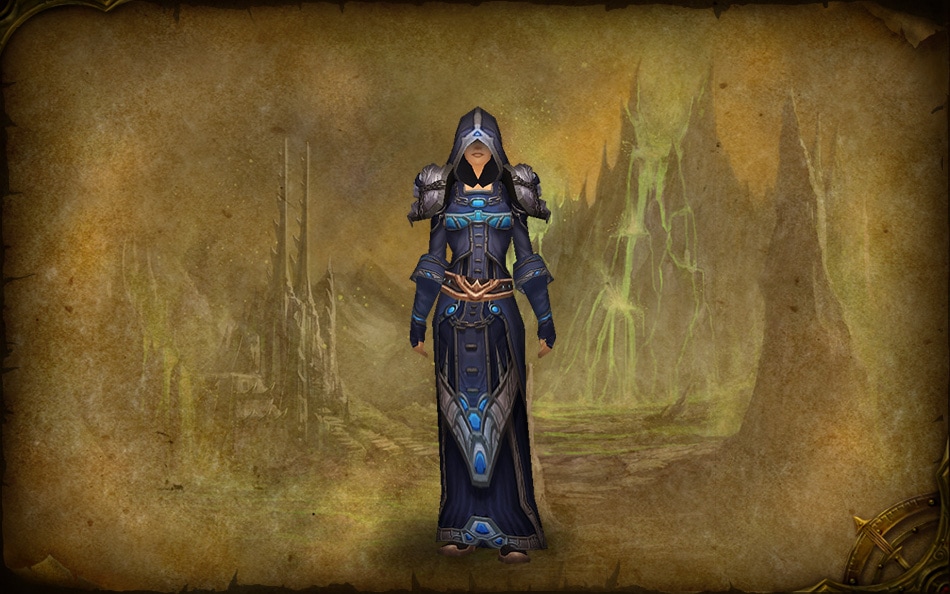
| Priest - Absolution Regalia | Rogue - Slayer's Armor | |

| 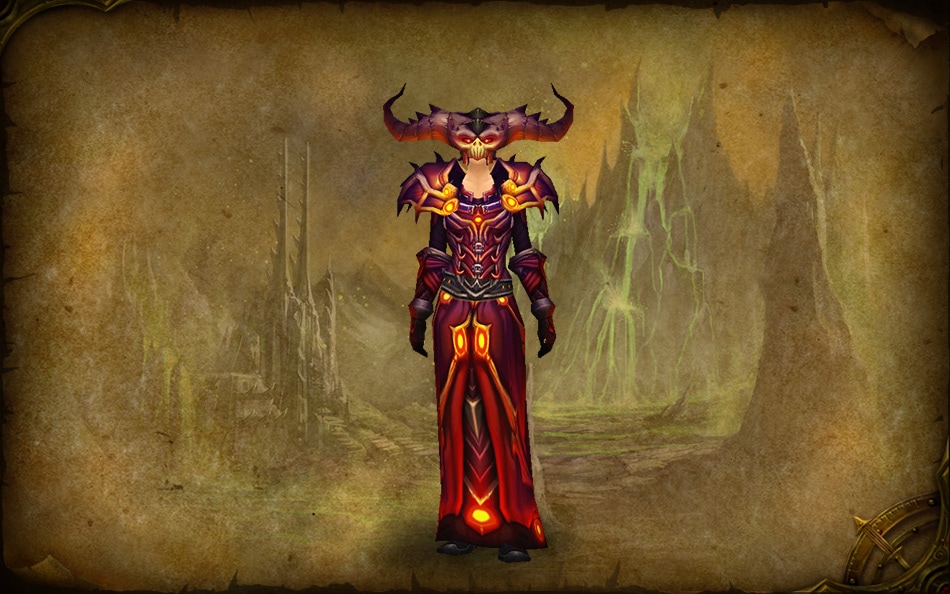
| |
| Shaman - Skyshatter Raiment | Warlock - Malefic Raiment | |
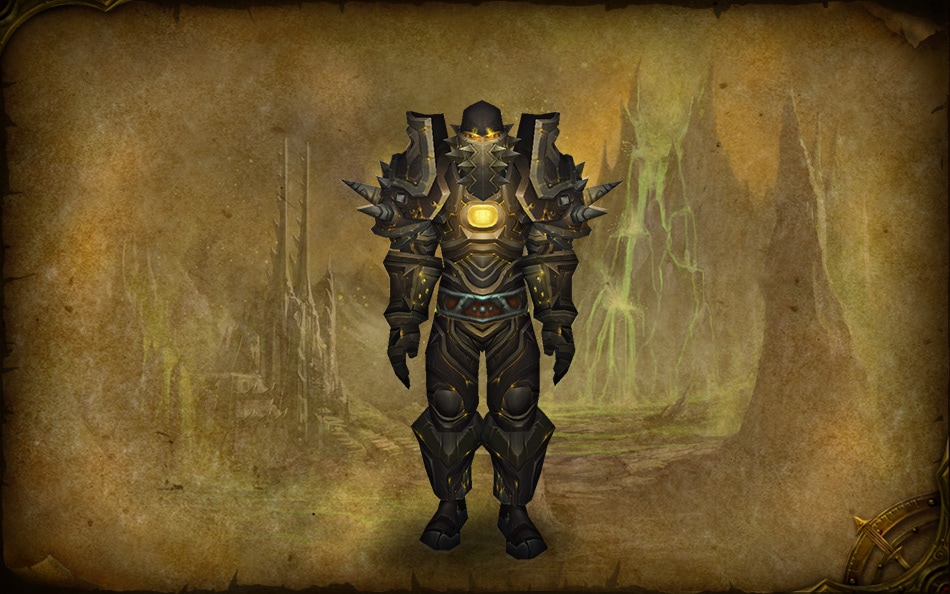
| ||
| Warrior - Onslaught | ||
Tip: Only the Tier 6 Shoulders, Pants, and Chest items are actually found inside the Black Temple. Gloves and Helms can be looted from Hyjal Summit, while Bracers, Belts, and Boots, are obtained from the Sunwell Plateau. Note that there are items that match your set in the Black Temple (including re-colors *cough* Monks and Deathknights, I’m lookin’ at you), they just aren't officially part of the set.
Notable Transmogrification Loot
Zhar’doom, Greatstaff of the Devourer
Legendary Weapons
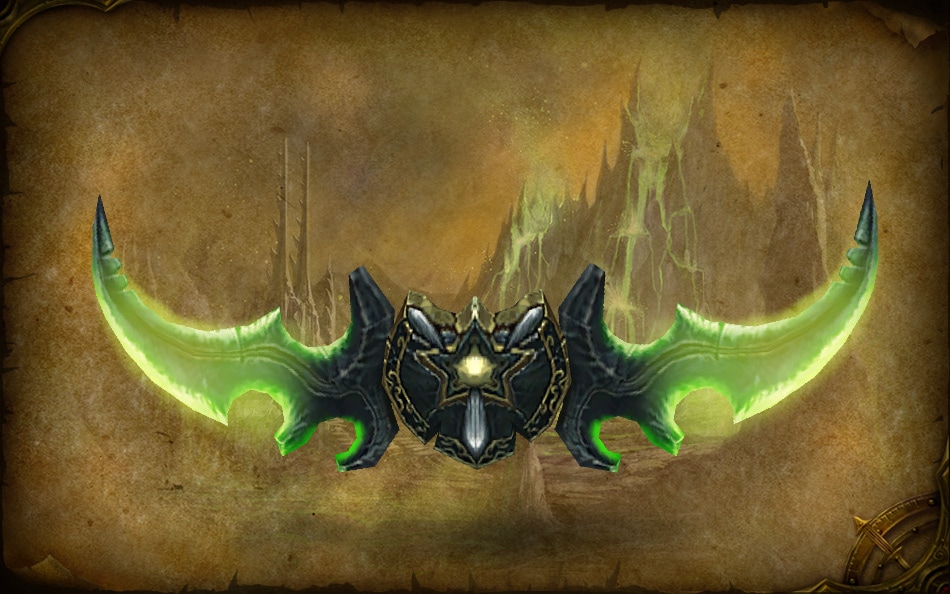
Dem Warglaives. Unlike many of the other Legendary weapons that can be acquired from World of Warcraft’s various bad guys, one or both of the Warglaives of Azzinoth simply have a chance to drop when you defeat Illidan.
Faction
The Ashtongue are a tribe of Broken, led by Elder Sage Akama, that offered allegiance to Illidan Stormrage to take vengeance upon those who had subjugated and slaughtered their race. The Deathsworn are an elite faction (also led by Akama) within the Ashtongue that have sworn undying loyalty to Illidan himself. Unfortunately, Illidan proved to be little better than those the Ashtongue had sought vengeance against. The Deathsworn are plotting to betray the Betrayer, they want Illidan’s head, and they want your help to take him down and free their people. Akama, and his Ashtongue, will be valuable allies as you infiltrate the Black Temple.
Slaying foes within the Black Temple will improve your reputation with them, and there are quest lines in Outland that will net you rep with them as well.
An Outing to Outland
If you’ve never been to Outland, there are a few different methods to get there. The fastest way is via your faction shrine in the Vale of Eternal Blossoms. Visit the portal chamber and take the portal to Shattrath. From there it’s an easy flight east to Shadowmoon Valley. Alternatively, if you want to go the old-school route, you can visit the Blasted Lands zone in the Eastern Kingdoms to walk through the Dark Portal into Hellfire Peninsula. Then you can fly due south over the yawning, terrifying void straight to Shadowmoon Valley, or you can take the long way around through Terokkar Forest.
Once you’ve reached Shadowmoon Valley, the Black Temple is found in the eastern reaches of the zone. The exterior of the Temple has a lot going on, but to reach the raid, we’ll want to head straight up the main thoroughfare. The entrance isn’t through the main gates, which are sealed, but rather through a breach in the wall to the south (on the right, if you’re facing the Temple gates), through which the instance portal is visible. You'll see a lot of guys running around down there, but fortunately for us, they couldn’t manage to assemble a work crew to get that hole patched. Maybe they were distracted by Doomwalker.(2) Regardless, it’s easy to get into the Temple. Attunement is no longer necessary, though the quests still exist if you want to experience them and get a little background on what Akama(3) is talking about while you’re inside.
Zoning Out(land)
As you head into the Karabor Sewers you’ll pass the Spirit of Olum. He can help you teleport back into the Temple should you decide to call it quits for the day or perish before clearing the instance.

The Sewers aren't the cleanest of environs, but you can readily skirt most of the critters in here except those standing directly in front of doorways, and at level-90 they don’t present much of a threat. Move past Olum, head up the sewer tunnel to the right, and then hang a left. You’ll soon see High Warlord Naj’entus in an alcove to the right.
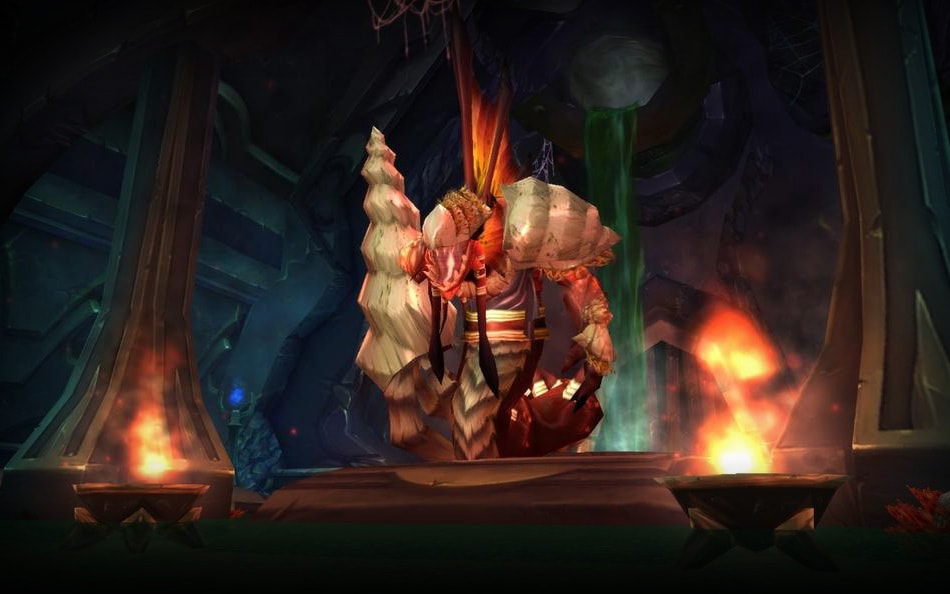
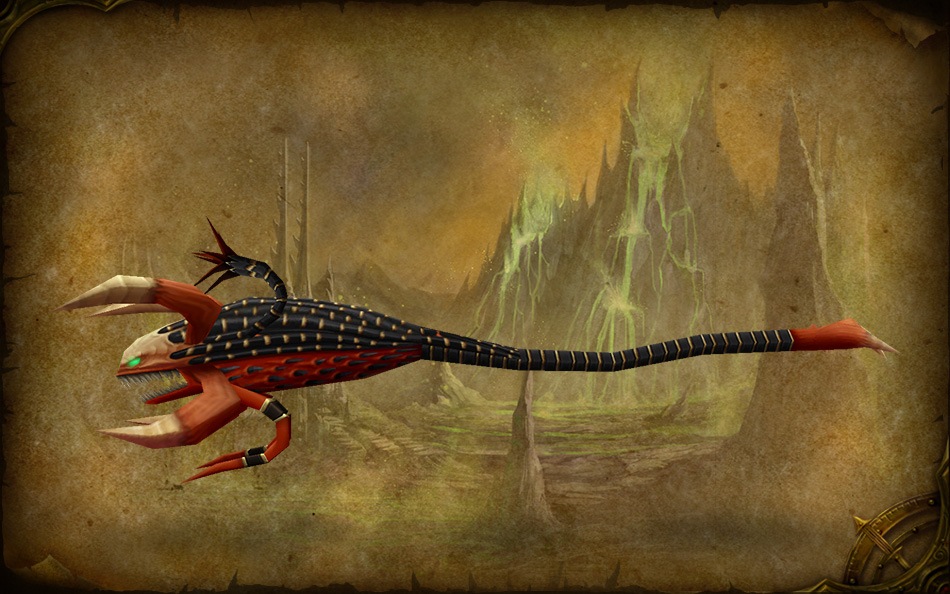
High Warlord Naj’entus - is one of Lady Vashj’s lieutenants(4), a massive naga with bizarre shell-like growths erupting from his body. Two Aqueous Lords are hanging out nearby. You can pull the Lords separately and kill them before you engage Naj’entus. Otherwise, they’ll attack when you engage the High Warlord anyway. Fighting this boss is pretty straightforward, and shouldn’t present much of a challenge. If you're familiar with the original encounter, you'll be happy to hear that he no longer throws his dreaded Spine at solo heroes that oppose him. The downside is that, after a minute passes, he will surround himself with a Tidal Shield that could once be broken by those Spines. Now you’ll have to wait it out while he heals, but you should be able to take him down in time.
Once Naj'entus is down, turn around and head through the doorway guarded by a Hydra, move past a swarm of Aqueous Spawn into the broken sewer pipe, and then follow it upwards to emerge into the Illidari Training Grounds.
Tip: Look up! A planet (could it be Azeroth?) is visible in the sky from the Illidari Training Grounds. Pretty!
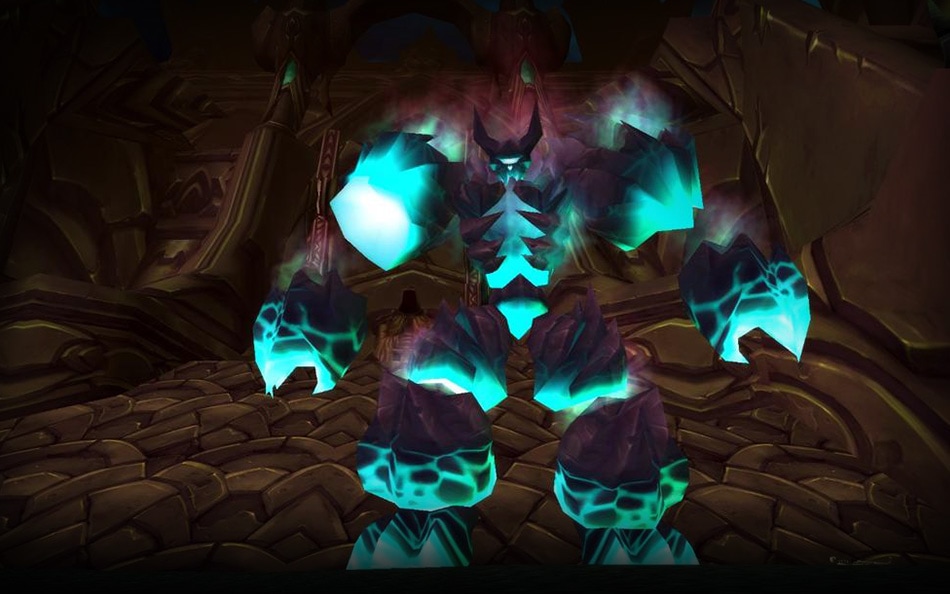
Supremus - is an enormous, blue-tinged Abyssal overseeing the Bonechewer and Dragonmaw orcs assembled in the Illidari Training Grounds. You’ll find him standing near the sealed gates to the Black Temple over on the right--you can’t miss him. You’ll have to douse him to gain entry.
The most dangerous thing about Supremus (though still not particularly dangerous to level-90 characters) is the blue fire he’ll spawn at your feet. That’s easily dealt with by shifting(5) position to the left or right to avoid standing in the fire, but be sure to position yourself in such a way that his knockback won’t hurl you into the troopers who are inconveniently loitering in the area.
Killing Supremus causes the gates of the temple to spring open. Head up the stairs and past the gate to enter the Sanctuary of Shadow. You can technically take on any of the four bosses down here in any order, but we’ll present the bosses in the same order they were typically slain back when the raid was current content. With that in mind, head to the right to enter the Refectory.
Unless you’ve got access to stealth, you’ll be forced to fight some packs guarding doorways, and even at 90 some of Illidan’s servants, particularly the Ashtongue Feral Spirits (which see through stealth) have a surprisingly wide aggro radius. When you engage foes in this area, be sure to kill the Ashtongue Battlelords first, as their Concussive Throws have the potential to lock you down with long-lasting stuns. The Primalists can also cast a Sweeping Wing Clip that will root you temporarily, though that’s less troublesome. If your class or race doesn’t have a means of breaking crowd control, it might be advisable to equip a PvP trinket so you can break out of the Concussive Throw stun, just for the sake of convenience.

Shade of Akama - When you enter the Refectory, Akama will be there waiting for you.
Let him wait a little longer: you’ll make things a bit easier on yourself if you clear out the trash in the room first (remember: kill those Battlelords first!). After you finish clearing the Ashtongue loitering about the Refectory, let Akama know you’re ready to roll. He’ll begin channeling a beam at the Shade of Akama, and the Channelers who surround the shade can now be slain. Kill off the Channelers and then help Akama defeat the Shade of Akama to free his soul, sparking open revolt among the Ashtongue against Illidan. After you slay the Shade, Akama will address his people and the remaining hostile Ashtongue Broken within the Refectory will despawn. Their tribemates throughout the Temple will no longer be hostile – though they won’t help you fight either.
Elder Sage Akama – One of four major lore characters(6) found in the Black Temple that hearken back to days of Warcraft yore, Akama has been with us since Warcraft III: The Frozen Throne, where he fought alongside Illidan, Kael’thas, and Lady Vashj. Check out the Curse of the Blood Elves campaign if you’d like to see how it all played out.
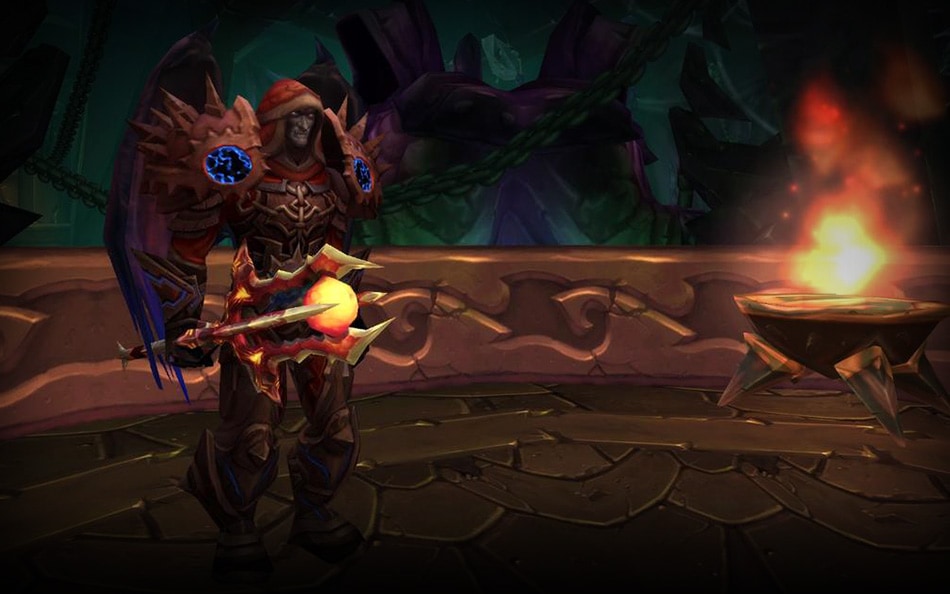
Teron Gorefiend - Exit the Refectory and turn right to head upstairs to Gorefiend’s Vigil. You can skirt most of the Shadowmoon Orcs in this area, aside from those patrolling the stairwells or guarding the doorways, but nothing is very dangerous either, so slay to your heart’s content.
This part of the Temple is pretty linear, so there’s not a lot of room for confusion. After you reach the top, Teron Gorefiend will briefly reference his status as the first Death Knight and his many turns through the wheel of death. Clear the two Hand of Gorefiend honor guards that are standing near him, otherwise they’ll join in when you engage Teron, then set about sending(7) Mr. Gorefiend back around the wheel one more time. (Fun fact: You are responsible for resurrecting Teron over the course of a quest line in Shadowmoon Valley)
After you lay Teron to rest again, backtrack to the Sanctuary of Shadows and head up the stairs onto the center platform. In the alcove to the east, completionist crafters can talk to Okuno
The Spirit of Udalo can teleport you to the Chamber of Command after you’ve cleared out the other bosses.

Reliquary of Souls - Head up to the right to enter the Halls of Anguish. Upon entering, hang an immediate right to head through the soul fragment haunted halls that lead to the Reliquary of Souls. Initially ensconced within a pulsing, rib-cage-esque wrapper, the boss will emerge to show three faces(8) to you, each of which has special effects. After you defeat each face, you’ll need to clear out a swarm of Enslaved Souls, each of which will heal you upon death. In fact, you don’t even need to destroy them. They’ll swarm around your hero, and eventually detonate with healing. Here’s what to expect from each phase:
Essence of Suffering – The important thing to remember(9) during this phase of the fight is that the Essence of Suffering applies an aura that reduces all healing by 100%. You probably won’t need it, but still.
Essence of Desire – This is easily the most dangerous phase of the fight, and a real threat to the inattentive. The Essence of Desire applies an aura that causes 50% of your damage dealt to strike you as Shadow damage, though it also increases the healing you receive too. She will also apply Spirit Shock which is a confusion effect, and Deaden, which increases the damage you take by 100%. Use of defensive cooldowns and healing helps, but it pays to keep an eye on your health to make sure you aren’t accidentally sticking it to yourself, particularly during the brief durations that Deaden is active.
Essence of Anger – Should be an easy fight. The Essence of Anger’s aura deals Shadow damage over time, but also increases your damage dealt over time. You got this.
Now that the Reliquary has been shut down, head back down to the opposite end of the hallway. Clear the pack of orcs guarding the stairwell, then enter that doorway and continue downstairs where Bonechewer pugilists are pugiling. You can likely skirt them by keeping to the left and sticking to the walls.
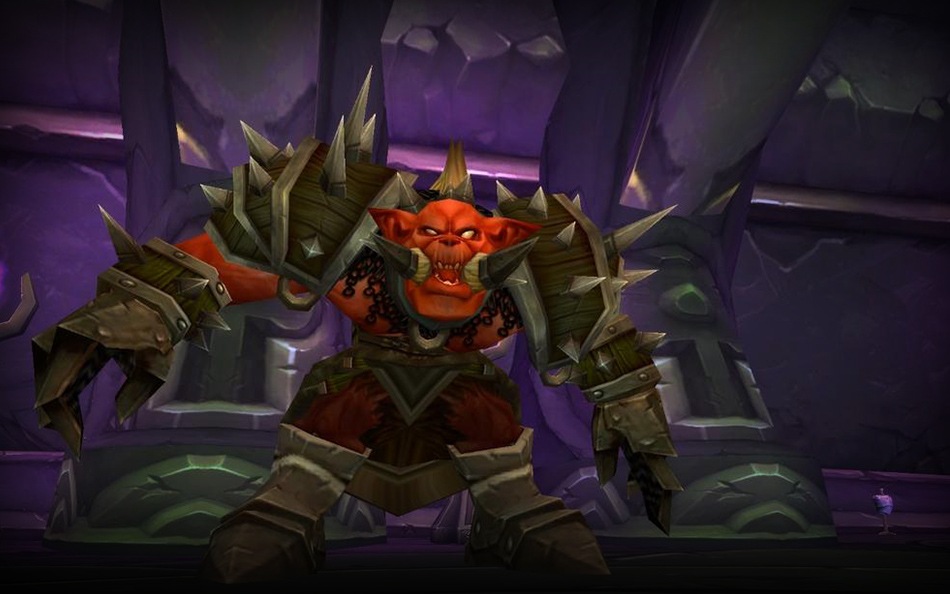
Gurtogg Bloodboil - There at the bottom of the ramp you’ll find Gurtogg Bloodboil. He’s a big red orc, and a pretty rough customer. Between the damage over time from his Bloodboil ability, Acidic Wounds (that also reduce armor), and rapid fire melee strikes, Gurtogg can pump out a surprising amount of damage that ramps up over the course of the fight as those debuffs stack. On top of that, his Bewildering Strike can leave you confused and vulnerable for 8 seconds. He's a real danger even to level-90 characters. High damage output, self healing and defensive cooldowns are key. Abilities that can clear his debuff stacks are especially helpful, but note that only certain effects can clear his Acidic Wound stacks, such as Divine Shield, Ice Block, and Cloak of Shadows. You may need to experiment with different talents and abilities, or even gear up a bit, but you’ll lay him low eventually.
After you kill him, head up the stairs to the east and take two quick lefts to leave the Halls of Anguish and return to the Sanctuary of Shadows once more.
Now that the Shade of Akama, Teron Gorefiend, the Reliquary of Souls, and Gurtogg are all dead, it’s time to move on to an altogether more pleasant place: the Den of Mortal Delights, where Mother Shahraz dwells. Still, don’t let the gauzy curtains and comfy cushions fool you: everything here wants to kill you. Don’t get too close to the concubines, because despite ‘Charming’ being in the name, they’re anything but. Hang a left and move up the stairs deeper into the Den. Much like Gorefiend’s Vigil, this route is pretty linear, so it’ll be tough to get lost.
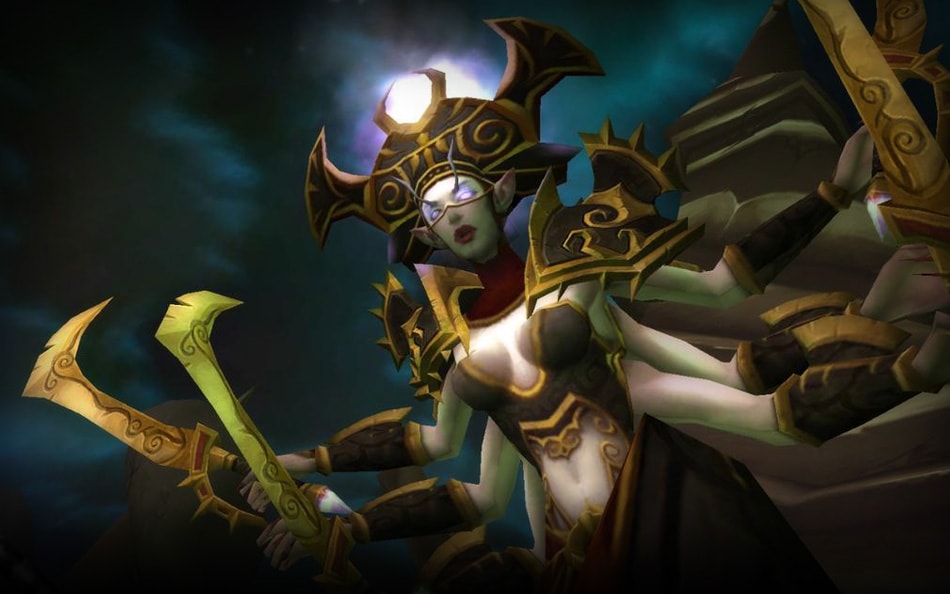
Mother Shahraz - A demoness of the Shivarra race who presides over the Den of Mortal Delights. She’s actually pretty tough and deals a decent amount of damage, particularly with Saber Lash, though she’s still probably not too dangerous to level-90 characters. Her Silencing Shriek is potentially inconvenient for casters, but it’s resistible and likely won’t land. She’s also the first boss in the Black Temple to have a chance to drop Tier 6 armor pieces, specifically Shoulder items.
After you defeat her, turn right, and head up the Grand Promenade, dodging Promenade Sentinels as you go, until you reach the top of the staircase. Aside from one Sentinel at the top of the staircase, you should be able to dodge most of the trash here if you don’t feel like fighting it. Without stealth, you will definitely need to clear one pack of blood elves standing near the entrance to the Chamber of Command on the right.
Tip: Turn in your Tier 6 tokens to Tydormu, found within the instance entrance to Hyjal Summit at the Caverns of Time. The fastest way to get there is, once again, via your faction shrine in the Vale of Eternal Blossoms. Take the portal to Dalaran, then head to the Violet Citadel where you can take a portal to the Caverns of Time.
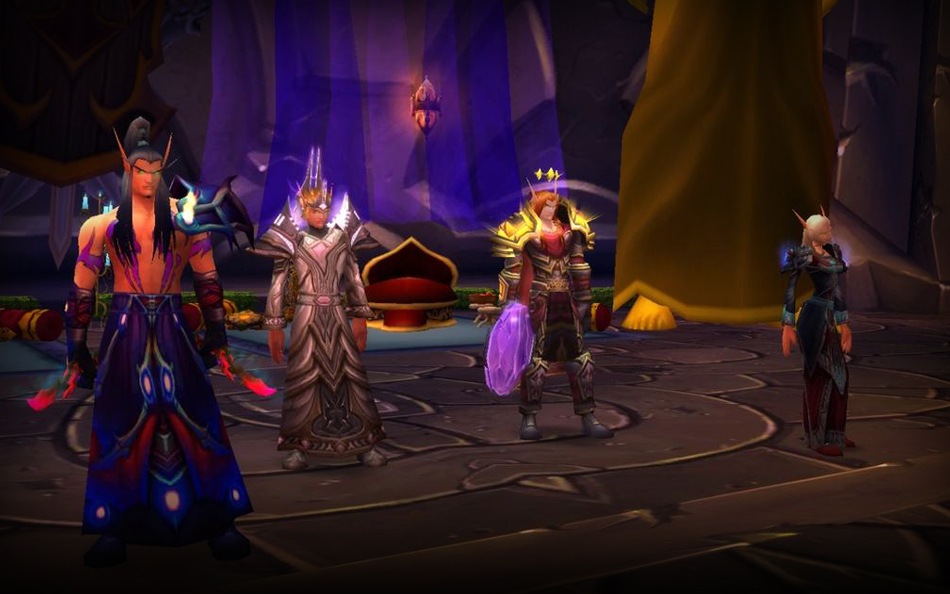
Illidari Council - Enter the Chamber of Command to face off against Illidan’s inner circle: the Illidari Council. The Council is composed of four blood elves who share a health pool:
Veras Darkshadow – As a Rogue, he’ll Vanish frequently, and makes a poor main target.
High Nethermancer Zerevor – He’s a Mage, and may not be your best option for a main target either.
Gathios the Shatterer – Gathios is a Paladin. He’s got a slew of abilities and will sometimes cast Blessing of Protection on other members of the Council. He’s not a bad choice for your main target, since he’ll largely stay on you throughout the fight.
Lady Malande – She’s a Priest, and every 20 seconds or so, she’ll try to cast Circle of Healing. It’s very important to interrupt this spell if you can, so consider making her your main target if you have trouble switching targets in the middle of a fight.
This can be a very tough fight, even for a level-90 character. Strong damage output, self-healing, and interrupts help a great deal. A significant portion of the Council’s damage arrives via ground based area of effect (AoE) abilities, so it’s important to shift position periodically as new AoEs are cast to minimize your incoming damage. As with Gurtogg, you might have to experiment with abilities, talents, and tactics to figure out what works. You’ll have a much easier time dealing with them if you stay out of those AoE’s and interrupt Malande’s Circle of Healing every time she tries to cast it.
After you finish off the Council, Akama will appear at the base of the dais. Maybe he was there the whole time and didn’t help. Regardless, talk to him and then follow him up the ramp on the left side of the Chamber. Once at the top, he’ll unlock the door to Illidan’s sanctum with the help of the spirits of Olum and Udalo. Follow him to the Temple Summit, and speak to him again to begin the confrontation with Illidan.
Tip: The Illidari Council drops Tier 6 leg tokens.
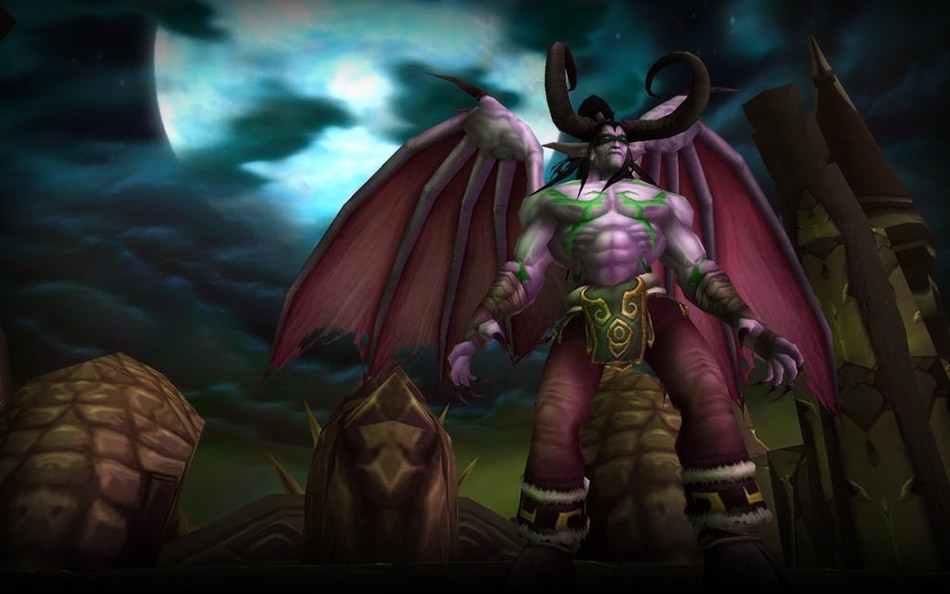
Illidan Stormrage, the Betrayer - The first Demon Hunter, and twin brother to Malfurion Stormrage. Illidan was an instrumental figure in the War of the Ancients. He was imprisoned by his own brother for 10,000 years under the guard of the Watchers, including Maiev Shadowsong and her fellow priestesses, when Tyrande freed him to help face down the Burning Legion. He once went one on one with Arthas. His actions have left an indelible Illidan-shaped mark on the history of Azeroth and Outland alike, spanning Warcraft III and World of Warcraft. His story can (and has) filled volumes. He is the most interesting man (Night elf? Demon? Demon.) in the Black Temple. And now you get to kill him.
You’ll find Illidan kneeling in the center of the Temple Summit, so absorbed in the Skull of Gul’dan that he doesn't respond to your presence. When you’re ready to take him on, talk to Akama to start a conversation between him and Illidan, where they discuss Akama’s inevitable betrayal. Illidan will become vulnerable to attack shortly after their conversation concludes.
Surprisingly, Illidan will likely prove easier to handle than some of the fights you’ve already dealt with. In phase one of the fight, you and Akama will face him together. Illidan does a decent amount of damage, but he probably won’t represent a tremendous threat. Periodically he’ll leap dramatically(10) into the air, and fire a blast down at you that leaves a burning blue blaze on the ground--as always, don’t stand in the fire. As phase one ends, Akama will depart (thanks Akama), and Illidan will once again leap into the air. This time he stays there, and hurls his Warglaives to the ground on either side of a grate.
This is where the fight gets tricky. Each Warglaive has a Flame of Azzinoth trapped within it, and they’ll emerge from the weapons to attack you. If they are moved too far away from the Warglaives they will enrage, and deal more than enough damage to make short work of even a level-90 hero. To keep that from happening, stand in the center of the grate, and take out both Flames of Azzinoth while standing within the vicinity. After both Flames are put out, Illidan will descend once again.
You’ll re-engage him, and after you do more damage, he’ll take some time to lock you in an unbreakable Shadow Prison and talk some trash. Drop some more damage on Illidan, and Maiev Shadowsong will arrive when he reaches 30% health, contributing(11) to the fight by dropping traps you can use to increase the damage that Illidan takes. If you take it easy on your dps output, you may witness Illidan assume his demonic transformation!
After the Betrayer is laid low, he relates to Maiev that she should feel bad. And she does. Which motivates her to do some pretty crazy things later on.
Tip: If you fall in battle against Illidan, talk to Olum to be teleported back to the Chamber of Command.
Wrapping Up
Thus ends your battle with Illidan Stormrage. That wraps up our walk-through of Black Temple, but there is more yet to come, and we’ll be taking you on a guided tour of more classic raids in the future.
In the meantime, share your stories of Black Temple glory (and loot!) in the comments!
(1) Once Outland was called planet Draenor; now it’s Outland, not planet Draenor. Been a long time gone, calling it Draenor. Why did naming it Draenor get the works? That’s nobody’s business but the Orcs.
(2) Doomwalker is a massive Fel Reaver world boss. Hapless players in the area that were minding their own business and killing Illidan’s servants could sometimes be caught and annihilated by his Earthquake spell. Good times!
(3) Higher ranking Brawlers have a chance to go toe to toe with Akama in the Brawler’s guild.
(4) Naj’entus’s presence in the Black Temple sewers is a reference to Warcraft III, when Kael’thas, Lady Vashj, and Illidan snuck into the Black Temple through the sewers when on a campaign to capture it. Why does he have all those shell-like growths? Because it looks cool.
(5) Seriously. Don’t ever stand in the fire. Even weak fire.
(6) The others are Teron Gorefiend, Maiev Shadowsong, and of course, Illidan Stormrage.
(7) A flash game was once developed to help prepare raiders to take down Teron.
(8) Inspiration can come from anywhere. The Reliquary’s design was influenced by the 80’s Transformers cartoon. The origins of the Reliquary, as well as its true function, remain a mystery.
(9) The Reliquary ended up being a vehicle for a mechanic that the encounter Devs had long wanted to experiment with: turning off healing completely. Doing so risked encouraging raiders to completely alter their raid composition for a single fight though, so the ‘no-healing’ phase was incorporated as only a single part of the encounter. To accomplish this, the Reliquary was split into three mini-bosses, with a full health and mana reset between each one.
(10) Crafting an encounter like Illidan’s always demands a new approach and the creation of new abilities, to make the fight as memorable and epic as possible. Originally, his flight phase led him to leap a little too far off of the ground and become lost to sight. After working out that quirk, the flight phase stayed in and remains an iconic part of the fight when Illidan hurls his Warglaives to the ground.
(11) Given the long association between Maiev and Illidan, the Devs felt it was important to make sure that she was included in the fight, rather than merely popping in at the end to deliver a killing blow. Her trap mechanic was added so she could have a meaningful contribution to the raid’s success.